3d Scanning
Metrology
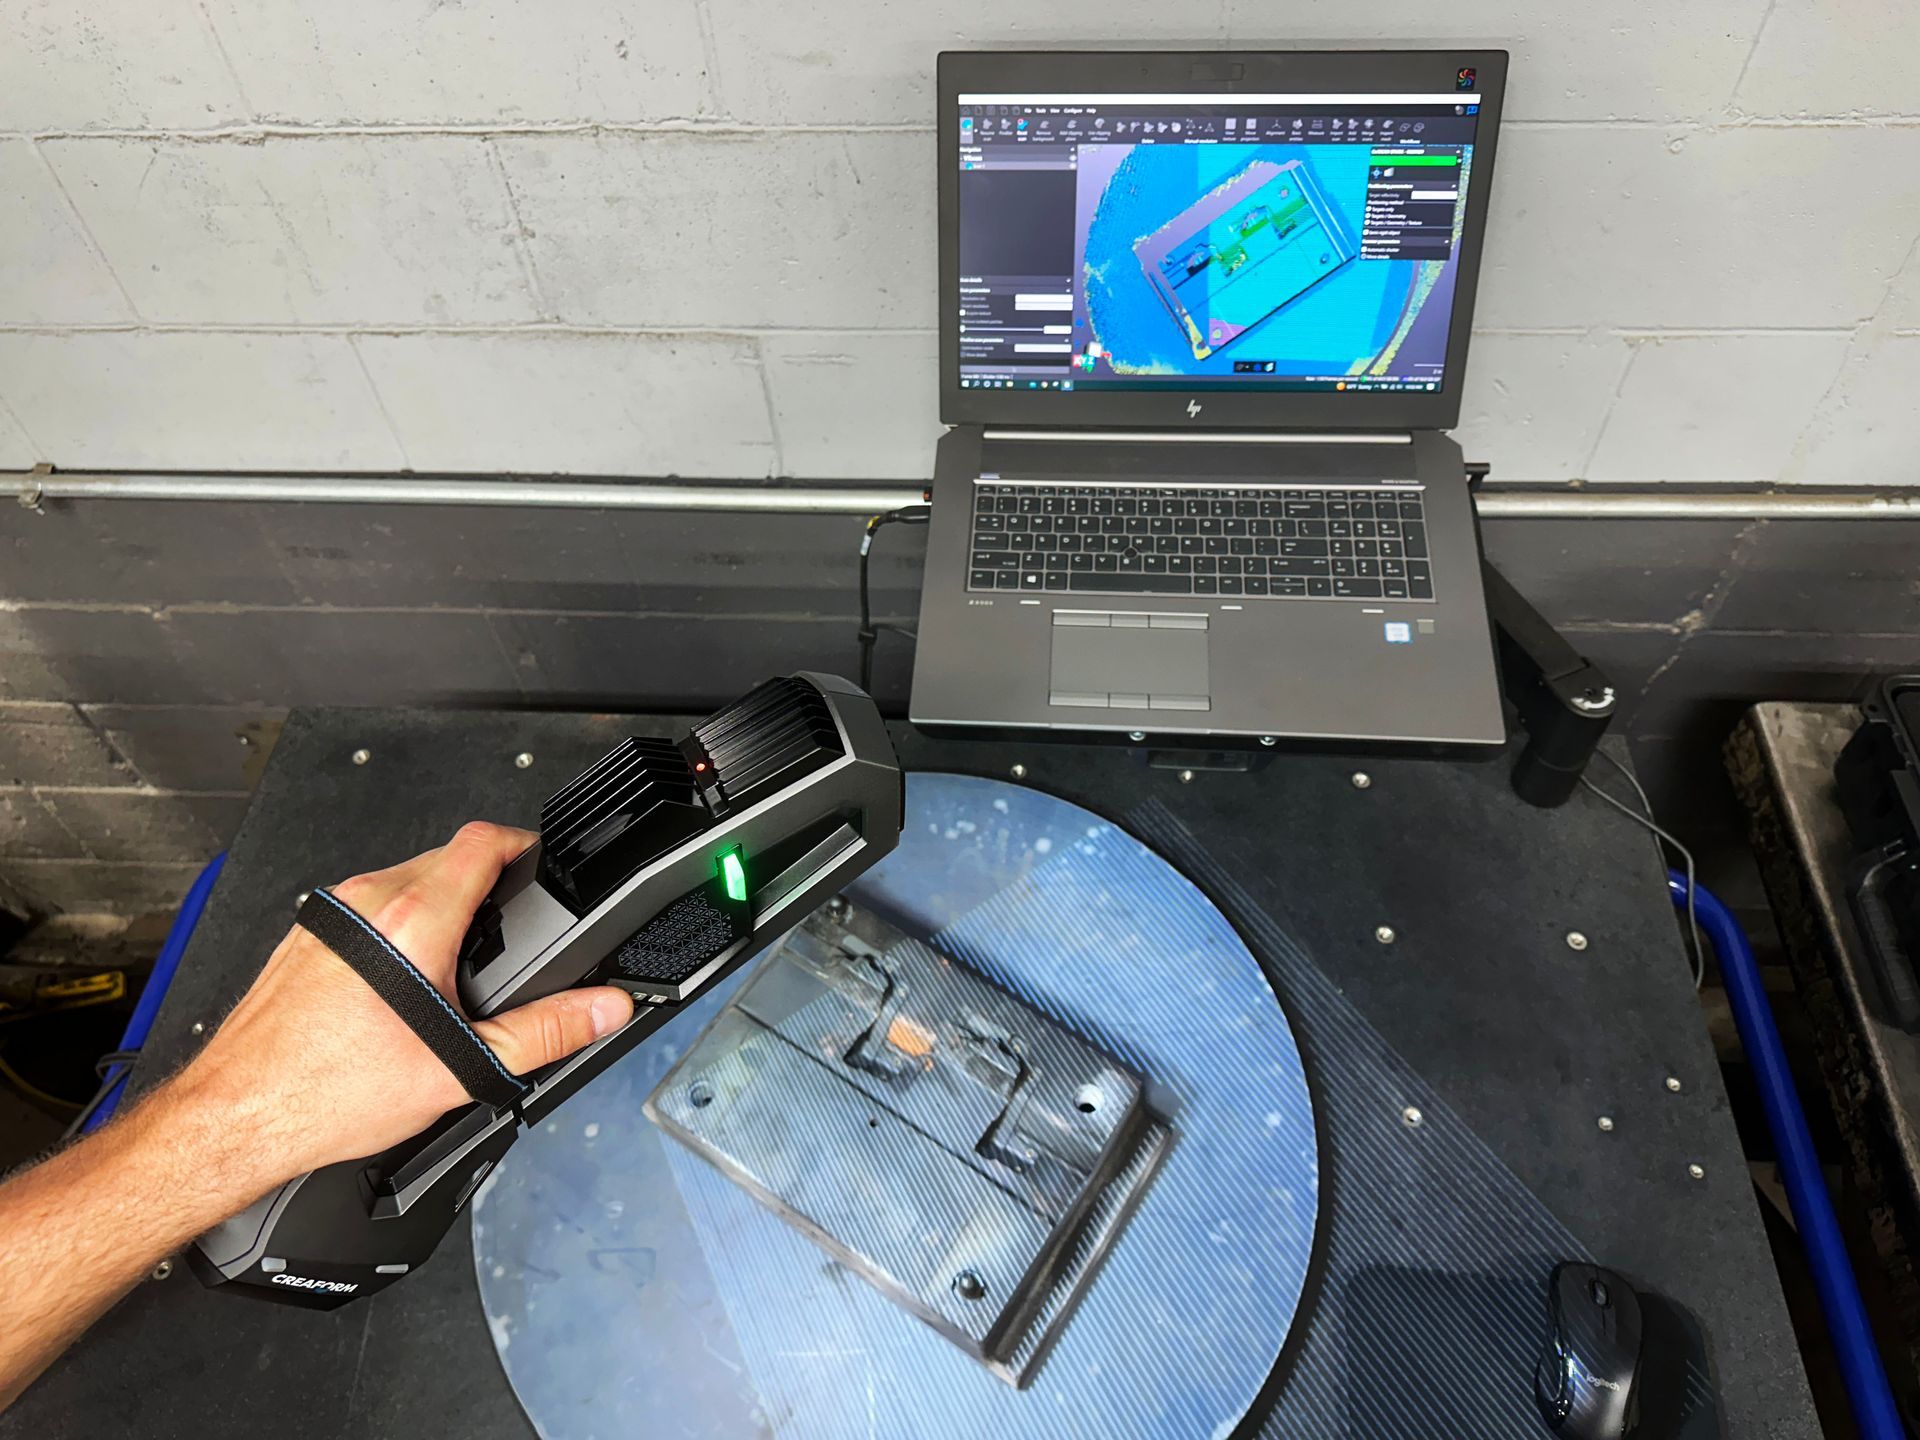
As a service we offer the use of our portable optical scanner and associated 3D metrology software. Scannable part sizes range from 4" to 4'. Surface measurements are accurate to .002" a scan resolution of .0039", with volumetric accuracy up to .0018 in/ft. In house, this technology is used to quickly measure and design mounting and ejection systems for customer tooling, but we continue to discover new applications.
QUALITY CONTROL
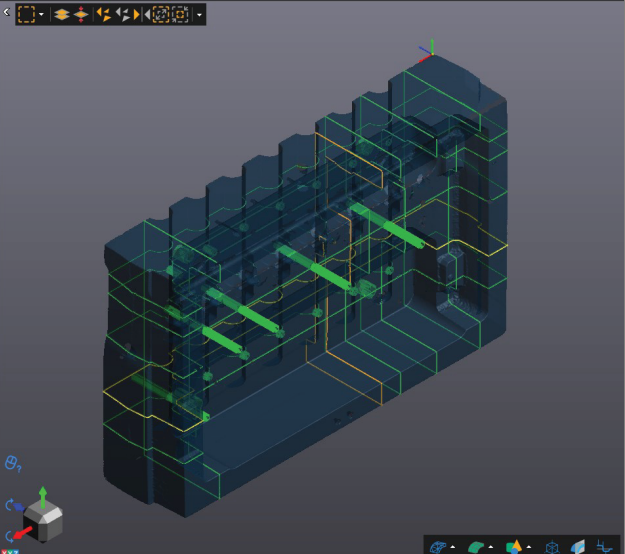
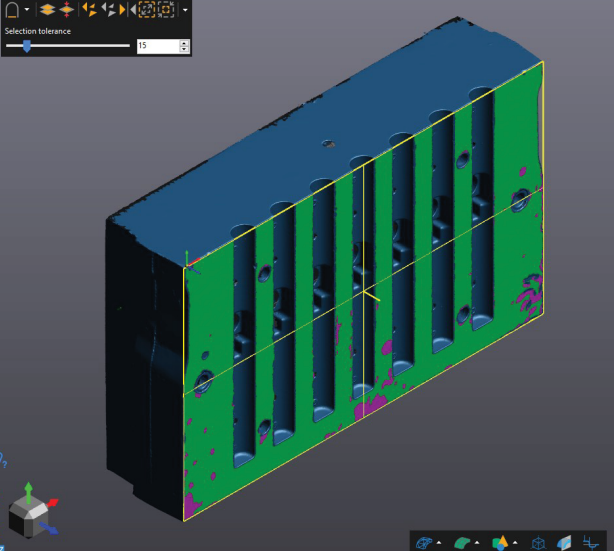
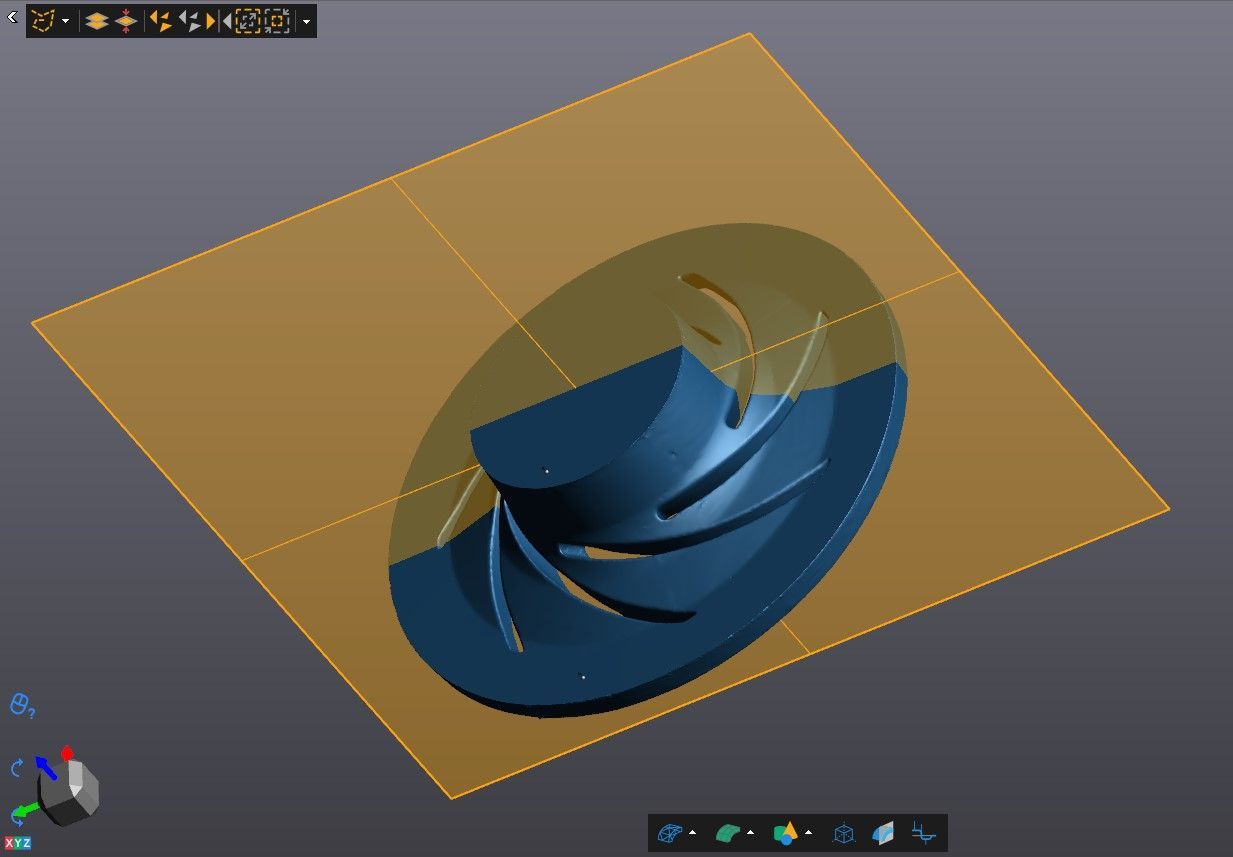
Scans can also be used for quality control and to analyze tooling geometry. They help us determine the flatness of critical surfaces, find areas of wear, and determine whether tooling and cores are within tolerance. The image on the right below is a 3D scan of a core box (inverted into a core), inserted into the 3D scan of a pattern, to determine the cause of excess flashing on castings.
reverse engineering
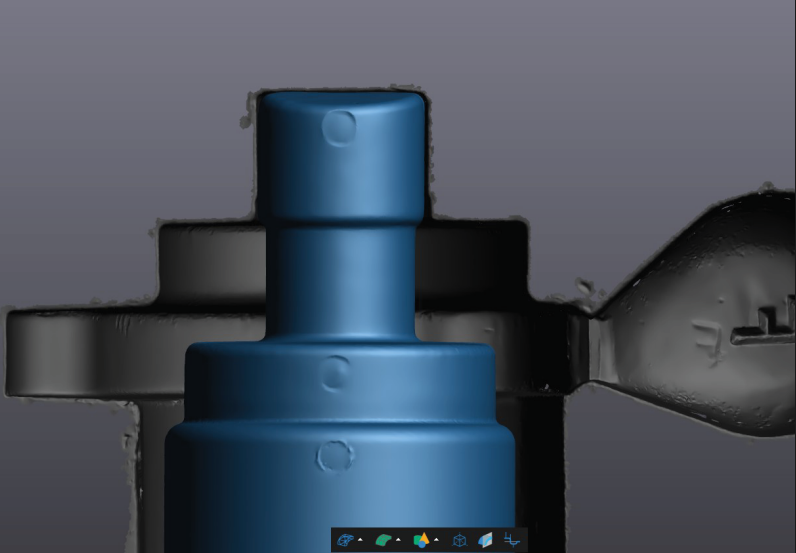
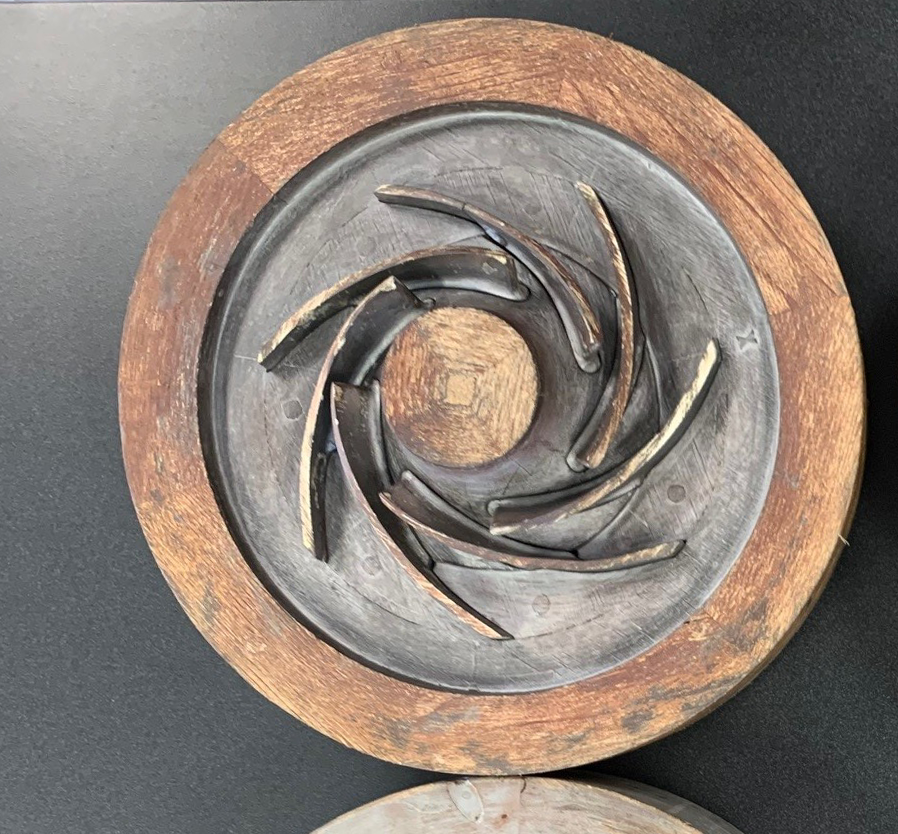
We are able to take scans of badly worn and damaged customer tooling and derive a 3D mesh of the original core. The mesh files can be used for the creation of a new tooling or to have the core 3D printed. The scan below contained multiple broken loose pieces. The scan of the best loose piece was copied and rotated to reconstruct the tooling and produce a printable file of the intended core.
portability
Scanning is typically performed at our Millersburg facility on a metrology table, but because the scanner is handheld, it is possible to take scans anywhere that we can also take a laptop. We are always discovering new uses for this technology, and we invite any novel customer requests.

